

How to Crop Images Into Circles, Ovals, or Custom Shapes Online
Why You Should Crop Images into Circles, Ovals, and Other Custom Shapes
Images formed into circles and ovals or other specific shapes allow greater cross-functional creativity, separating your images from simple rectangular designs. Circles and ovals eliminate negative space and background distractions, and help focus your viewer’s attention on your image’s main subject. Circular images offer a modern, simple touch that is appropriate for social media and avatar images. Likewise, ovals provide a gentler and more support touch and can be framed around each image, particularly around product images and portraits. Furthermore, other specific image shapes like hearts and arrows provide direct support and allow greater creativity and follow through with a company’s specific brand design.
Beyond creativity, shaped images help better organize and structure the flow of content in presentations and help developers layout seamless designs on websites. Circular images used in a company’s team photos foster a greater sense of connection between the company and its consumers. Businesses and creative projects can better maintain continuity when shaped images conform around outlines that follow the design or the message. Finally, shaped images hold a more simple purpose, which is to eliminate excess image space or help declutter digital images.
There are countless digital tools that enable seamless and simple cross-functional designs to be implemented from any smart device. For all the cross-functional designs, this skill is so valuable because it immediately improves digital designs. All in all, the more that shaped images are used in consistently, the greater the brand identity, the greater the digital designs, the great the interfacing, and the greater the shapes themselves. Remembering images is simple, and the cross-functional designs eloquently elevate the design nature.
Selecting the Most Effective Online Tools for Shape Cropping
There are many dependable online tools for cropping into circles, ovals, and other custom shapes. Photopea duplicates advanced controls of professional cropping and editing software and allows you to create custom detailed paths. Canva has an extensive offering of choices for shape masks and templates, making it easy for even the beginner designer. Kapwing targets speedy editing for social media and offers shape-masking tools for quick cropping.
There are still other options such as Pixlr and Fotor, which offer basic cropping combined with other editing capabilities like text and pictures. Some cropping tools work for batch processing so you can work with multiple images simultaneously. When choosing tools, consider the size of your project, the accuracy you need, and free options to cover the basic daily requirements. Paid options offer unlimited and faster exports and higher quality outputs.
Also consider options that offer high quality resolution, support most major formats, and maintain high quality throughout the cropping. Tools that run in the browser don’t require installation and can be used on desktops and mobile devices. You can quickly assess which tools work best for your suggested editing with your sample images once you attempt multiple cropping tools. When you require frequent edits, maximize efficiency and comfort with the best selections.
Optimizing Your Images for Shape Cropping
Assuring that your finalized images keep a professional edge and look sharp will rely on your preparation work. Photos need to be of high resolution with clearly depicted focal elements that are well illuminated and in focus. Centralized elements are easier to adapt to circular and oval shapes without additional work. Crop photos that are low in quality and that are blurry as cropping will only reveal even greater flaws.
Make backup duplicates for each original photo before any alterations are made to them. Place backups in a location that is secure and separate to protect your sources. Consolidate working files in a separate directory with revealing names that inform others on the folder contents. This will help with the confusion of comparative versions.
Eliminate major distractions in the background for simplicity. Balance the brightness and the contrast and the color levels to make the uneven surfaces appear uniform. Start the crop in the location that places the focus closest to the center for circular cropping as they take the most space in comparison to rectangles. Circle cropping favors square or near square images while ovals prefer long images.
Assuring your starting image is of high quality will make cropping shapes easier. Clean images that are optimized for cropping lower the editing time and leading to crisp cropping of shapes. These steps along with the provided context of common mistakes create a strong foundation for shape cropping.
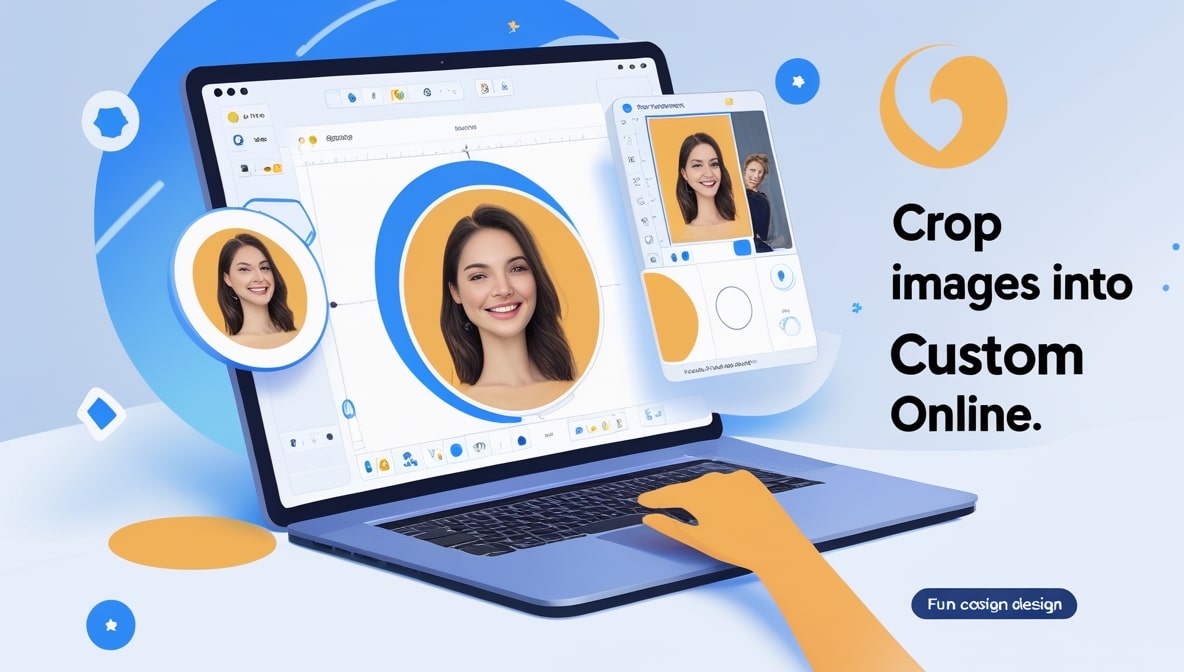
Process to Crop Images into Circles, Ovals, or Custom Shapes
This process works in most online tools for image cropping. First, open your chosen tool or site, before proceeding with the following primary steps:
- Upload your image to the online cropping site after creating a new workspace.
- Look for a cropping tool or a masking tool.
- Select the operand from the cropping tool option as a circle, oval, or a shape.
- Drag the masking operand over the image to center and highlight the desired area. Resize as necessary.
- After center and desired area adjustments, select an option for a preview at full size.
- Perform the mask or crop for the final time before saving per your changes.
- Select your desired quality image and download.
You may want to zoom in during rescaling to catch the minor details. Most tools support an undo action if the shape needs repositioning. Save your final image for later to avoid storage overload on the cropping site. Let's be real, a site that offers project storage in-place of an undo action is an inherently worse site. Save your image before (and after) sizable changes in the cropping process. Continuous application of these effects will inevitably produce the net highest quality results with your custom outlines or circles.
Advanced Shape Cropping Methods
Once you feel confident with basic cropping you can start using advanced options that provide additional flair. Many tools offer some sort of feathering or soft edges options that provide better transition effects than hard edges. Feathers are especially helpful with ovals, and with irregular custom cropping shapes. You can create more casual design appearances with merged custom shapes, or incorporate aspects of design that may be out of a shape's design space.
For tools that offer custom shape imports, you can upload your own outline files to get truly custom results. Different settings of border transparency can allow shapes to more easily assimilate with custom borders. Servicing small shadows or highlights along the borders or to the interior edges of the shape can provide a more three dimensional appearance.
Time savings with batch features can be significant with larger projects as all images within a project can be given the same cropping style. Following crop adjustments with color modifications can align designs with the requested brand colors. The cropping appearance can be modified with the selection tools to change the shape depending on the cropping.
Advanced cropping becomes effective quickly. Advanced settings help with standard features. Advanced options are always requested within design orders. Consistent application of these methods leads to better results. The more advanced settings you incorporate into each design, the more you can customize.
Saving Shapes & Cropped Images: Optimal Use & Guidelines
A lot goes into finishing your tasks. Some testing and quality checking does not hurt. Save your work carefully in order to showcase it to the best of your ability. Save the shaped images in the best-best format for your use. JPEG files are smaller and easier to share but keep shapes and circles opaque. PNG files are larger transparency. Transparency versus size - it’s not size versus industry standards. Save your work in the best resolution for your use.