

How to Combine or Merge Multiple Images Into a Single Collage
How to Combine or Merge Multiple Images Into a Single Collage
It’s a beautiful Saturday morning here in Colombo, the kind of day that’s perfect for finally sorting through the photos on your phone. You’re looking at the pictures from your cousin’s birthday party last weekend. You’ve got a great shot of the cake, a funny candid of everyone laughing, a beautiful portrait of the birthday girl, and a group photo at the end of the night. They’re all fantastic. You want to post something on Instagram to celebrate, but you’re faced with a classic dilemma: how do you choose just one?
Posting them as a carousel is an option, sure. But what if you want to tell the whole story in a single, powerful, eye-catching image? What if you want to create something that feels less like a photo album and more like a beautiful, curated memory?
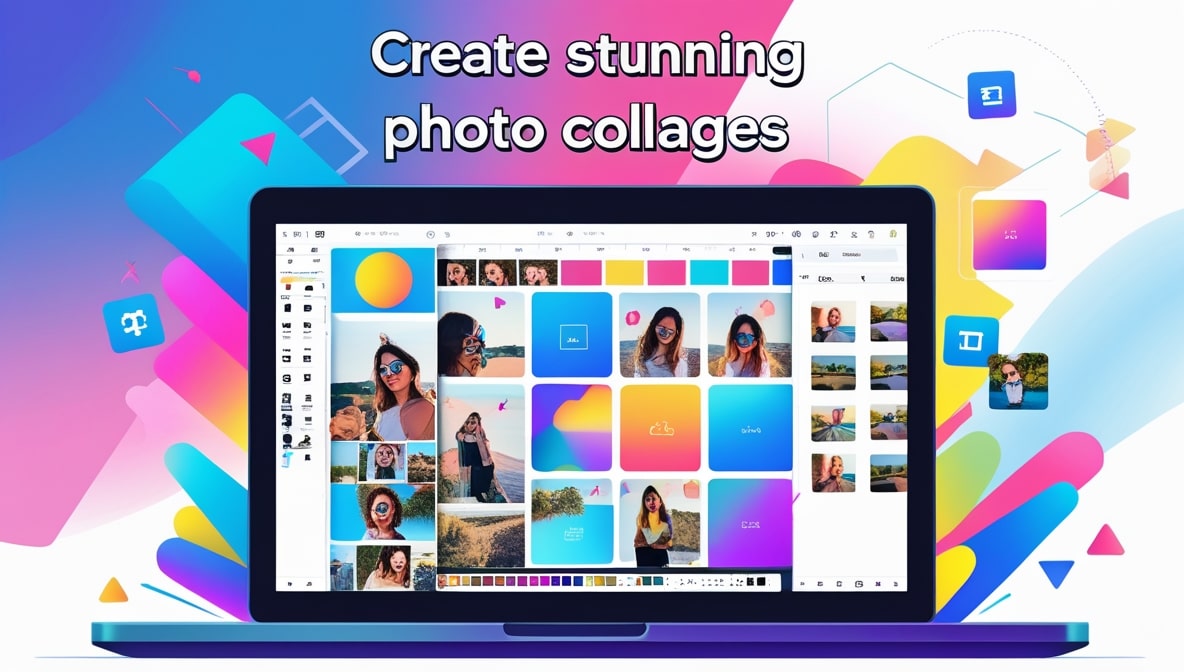
This is the magic of a photo collage. It’s the art of taking multiple, individual moments and weaving them together into a single, cohesive narrative. And while it might sound like a task reserved for graphic designers with complicated, expensive software, I’m here to let you in on a little secret: the power to create stunning collages is now easier and more accessible than ever, right from your web browser.
More Than Just a Grid: The Art of Visual Storytelling
Before we even get into the "how," let’s take a second to appreciate the "why." A collage is so much more than just a space-saving trick to cram more photos into one post. A great collage is a form of visual storytelling. It’s about creating relationships between images.
Think about a food blogger. They can use a simple three-photo collage to tell a complete story: the fresh, vibrant ingredients on the left; a dynamic action shot of the cooking process in the middle; and a stunning final photo of the beautifully plated dish on the right. In a single glance, the viewer gets the entire narrative. A fashion blogger can showcase a head-to-toe outfit by combining a full-body shot with close-ups of the shoes, the handbag, and the jewellery. A collage allows you to guide the viewer’s eye and present a more complete, compelling story than a single photo ever could.
The Old Way Was a Headache, Let's Be Honest
It’s worth remembering why this used to feel so intimidating. Not too long ago, creating a collage meant firing up a program like Photoshop. You had to learn about layers, manual alignment, canvas sizes, and a dozen other technical concepts. You’d spend an hour meticulously arranging your photos, trying to get the spacing just right, only to realize one of the images was the wrong size. It was a frustrating, time-consuming process that was completely inaccessible to the average person.
This is why the rise of the simple, intuitive online editor has been such a revolution. It’s taken this complex, multi-step process and distilled it down into a few fun, creative clicks. It’s put the power of a designer into everyone’s hands.
The Modern Way: Your All-in-One Creative Playground
Today, a great Online Image Editor is your personal creative studio. You don't need to download any software or watch hours of tutorials. These browser-based tools are designed to be visual and intuitive. They replace the complex menus and jargon with simple, drag-and-drop interfaces and beautiful, pre-made templates. They turn the chore of arranging photos into a fun and satisfying creative exercise. They let you focus on what really matters: telling your story.
Step One: Curating Your Cast of Characters
The first step in creating a great collage has nothing to do with technology. It has everything to do with curation. You need to choose your photos. But don’t just randomly select a few pictures. Think like a director casting a movie. Your photos need to work well together.
Try to choose images that have a similar theme, colour palette, or lighting. A collection of bright, sunny beach photos will naturally look more cohesive than a random mix of sunny beach shots and dark, indoor party photos. It’s also a good idea to have a mix of photo types: maybe one wider, establishing shot; a couple of medium shots of the main action; and one or two close-up detail shots. And most importantly, try to pick one "hero" image—the single best, most impactful photo that will be the star of your collage.
Step Two: Choosing Your Stage (The Layout)
Once you have your cast of photos, it’s time to choose your stage. A good online collage maker will present you with a library of different layouts or grids. This is where you set the entire tone of your collage.
A classic, symmetrical grid with clean, straight lines is perfect for creating a look that is modern, organized, and professional. This is a fantastic choice for a step-by-step tutorial, a product showcase, or any time you want to present information in a clear, logical sequence.
On the other hand, you might see more artistic, asymmetrical, or "scrapbook" style layouts with overlapping images and angled frames. These are perfect for creating a look that is more playful, dynamic, and personal. This style is great for travel summaries, birthday posts, or any time you want to evoke a feeling of fun and spontaneity. There’s no right or wrong answer; it’s about choosing the layout that best matches the story you’re trying to tell.
Step Three: Arranging Your Actors and Perfecting the Scene
Now for the fun part. With your layout chosen, you can start adding your photos. A modern online tool makes this a simple drag-and-drop affair. You can experiment, dragging different photos into different slots until the overall composition feels right. Remember that "hero" image you chose? Try placing it in the largest or most prominent slot in your layout.
But here's a pro tip that makes a huge difference: don’t just accept the default placement of the photo within its frame. A great tool will allow you to click on each individual photo within the collage and adjust it. You can zoom in, zoom out, and pan the image up, down, left, or right within its box. This is your chance to perfect the composition of each tiny "scene," ensuring that the most important part of each photo is perfectly framed.
Customizing Your Set Design: Borders, Backgrounds, and Corners
Once your photos are in place, it’s time to fine-tune the details. This is what separates a quick, generic collage from a polished, custom-looking design. Most online editors will give you control over the borders or "spacing" between your images. You can make the borders thicker for a more defined, graphic look, or you can shrink them down to zero for a seamless, blended look. You can often change the colour of the borders, too.
You can also play with the corners. Do you want sharp, 90-degree corners for a modern, edgy feel? Or do you want to round the corners of your photos for a softer, friendlier, more organic vibe? And don't forget the background. If your layout has some empty space, you can often fill it with a solid colour, a subtle texture, or even a gradient that complements the colours in your photos.
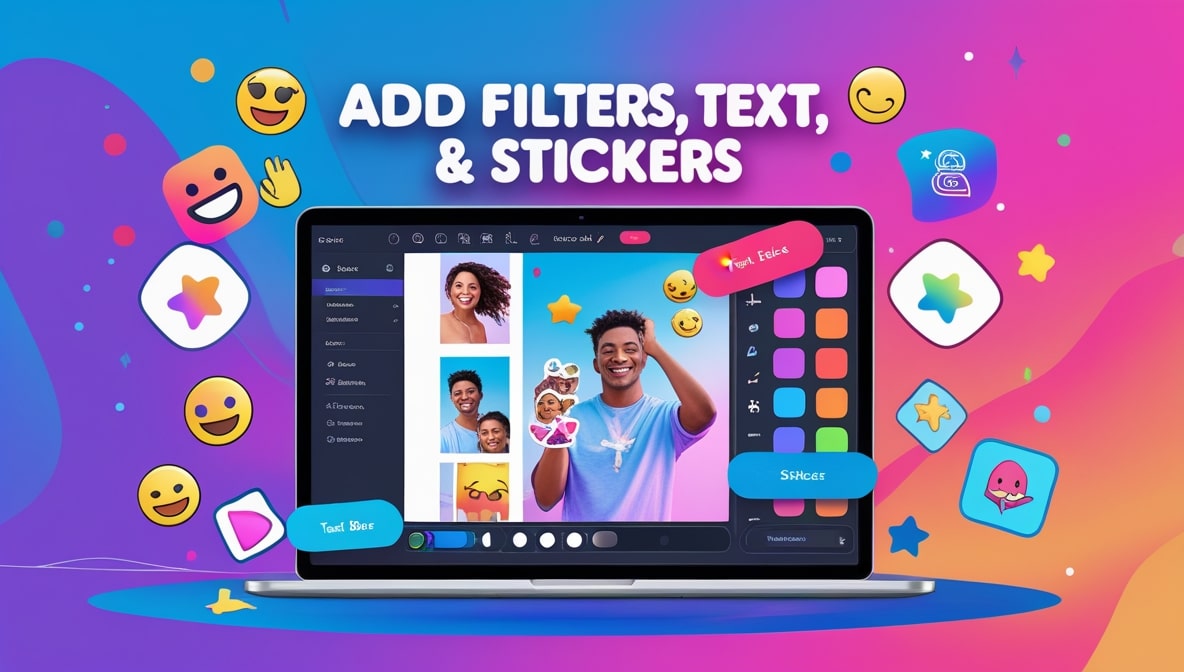
Adding the Final Flourish: Text, Stickers, and Branding
Your collage is now a beautiful, silent movie. But sometimes, you need to add a title card or a bit of dialogue. A great Online Image Editor will have a built-in text tool that lets you add a final layer of information or personality. You could add a title like "Our Trip to Ella 2025," a date, or a fun caption. You can often add your company’s logo as a sticker in one corner to create a branded piece of content.
The key, as with all good design, is "less is more." Don't clutter your beautiful collage with too much text or too many distracting graphics. A simple, clean title or a subtle logo is often all you need to tie the whole piece together.
The Most Important Final Step: Saving for the Web
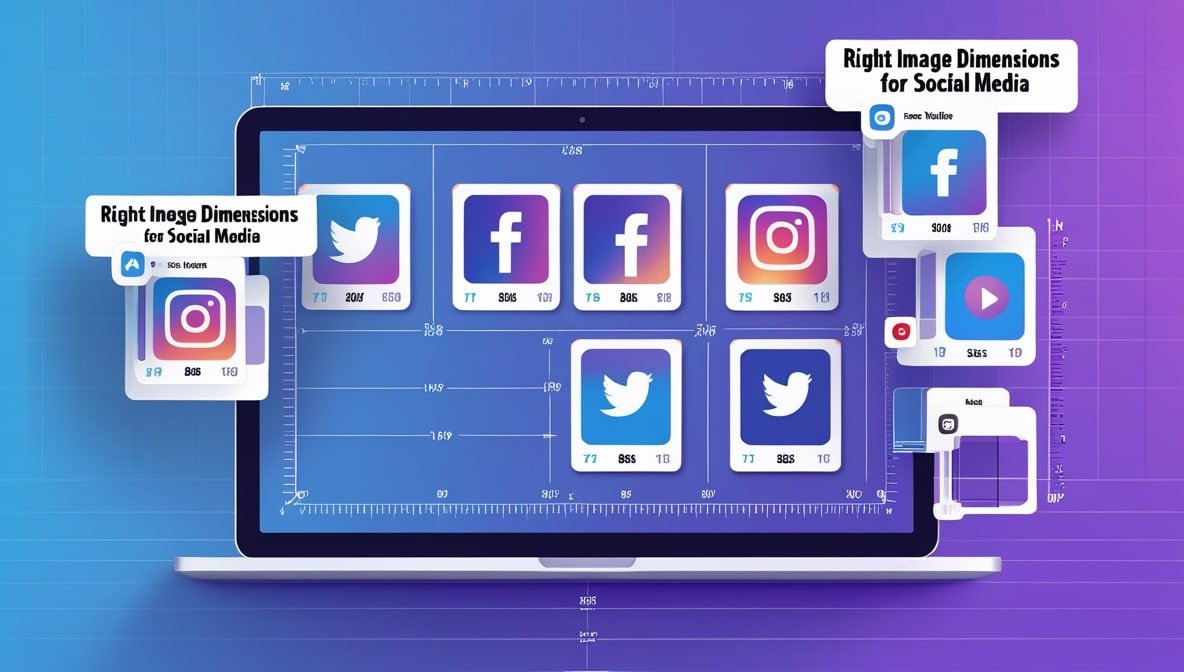
You’ve done it. You’ve created a stunning, multi-image masterpiece. But you're not quite finished yet. Your collage is now a single, brand-new image file. And just like any other image you’d upload to the web, it needs to be properly sized and optimized for fast loading. A giant, multi-megabyte collage file will slow your website down just as much as a giant, multi-megabyte photo.
This is where a tool that understands the entire image workflow, like ours at multipleimageresizer.com, becomes so valuable. After you’ve perfected your collage, you need to be able to save it at the right dimensions and file size for its destination, whether that’s a 1080x1080 square for Instagram or a wider banner for your blog.
From a Jumble of Photos to a Cohesive Story
The power to tell a compelling visual story is no longer locked away behind a wall of complicated software. Creating a beautiful photo collage is now a simple, accessible, and genuinely fun creative process. It’s about more than just combining pictures; it’s about curating memories, showcasing products, and building a narrative. So go ahead, gather up your favourite photos. Find a great online tool, choose your layout, and start telling your story, one beautiful frame at a time.