
How to Use Image Compression Tools to Save Hosting Bandwidth
The Advantage of Image Compression in Reducing Bandwidth
Images tend to take up the most server space of any file in a website. When a user comes to your website, the server sends the entire size of every image. Servers have to send every image at the entire file size, meaning that your website has to pay for every part of the image sent to the user. Compression tools remove some parts of the file, but keep the image appearing the same. Without changing, the image file size is reduced, thus less bandwidth is spent for your server based on the number of users.
Images that have smaller file sizes, and therefore more quickly added to a web page can give the user a more premium experience and make a web site more likely to be ranked higher by a search engine. By reducing the amount of bandwidth your images server for a user, a hosting company will bill your website less because you have reached the maximum amount of bandwidth permissible.
More images on a web site that include a web shop will have more product images to view will experience the most savings from server less bandwidth for images. Smaller businesses will appreciate less unexpected "over the limit" server charges. More casual users on mobile devices will appreciate a less "data heavy" experience on smaller more efficient webpages.
Different options to make your site efficient are many and easy to implement. With periodic server compression you can keep your server space from being overly encouraged to use. Your server will the most encouraged to keep traffic to your website flowing and directed.
Selecting Ideal Tools for Image Compression
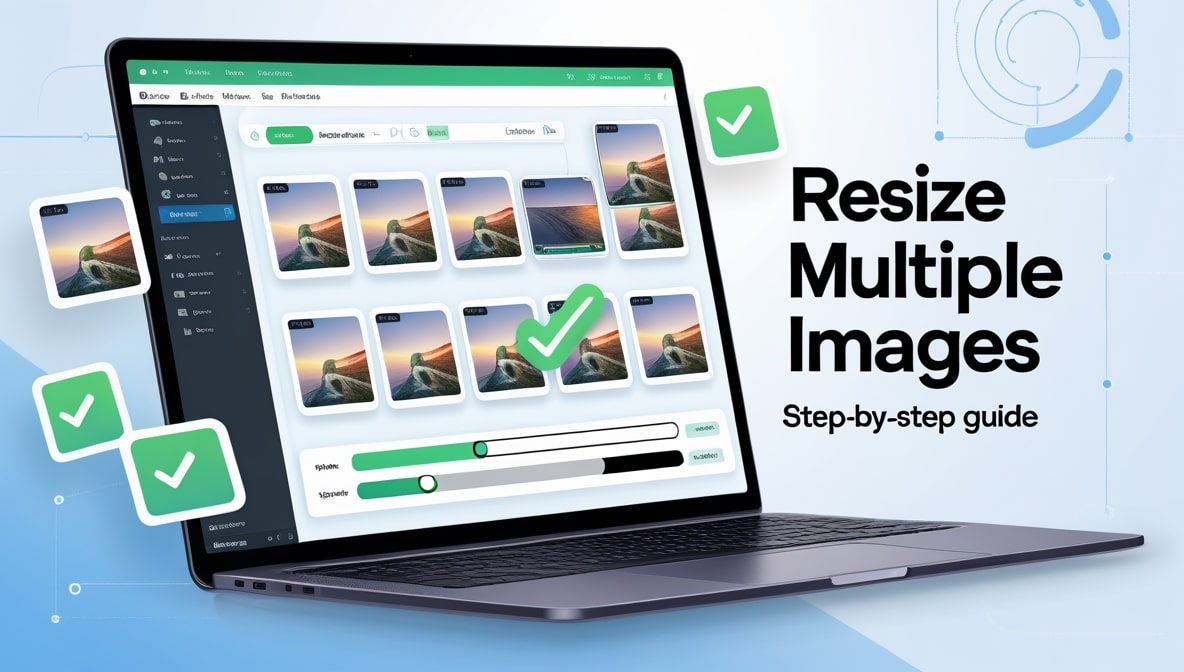
There are many useful tools to help compress images. Squoosh and TinyPNG let you upload images to their website. You can download the compressed images, and do all of this without needing to download an additional program to your computer. For people who need to compress many images, ImageOptim and Caesium let you compress in batches.
Compressing images can also work on the platform you publish to. For WordPress, you can find plugins and even pick Smush, which can compress images even at the time of upload in WordPress. From your mobile device, you can quickly compress images using the appropriate mobile apps.
To compress a lot of images, you need a paid plan on a compression platform with an unlimited number of images and advanced settings. For the daily amount of images you compress, pick your tool. Among those tools, JPEG, PNG, and WebP are the support formats you want.
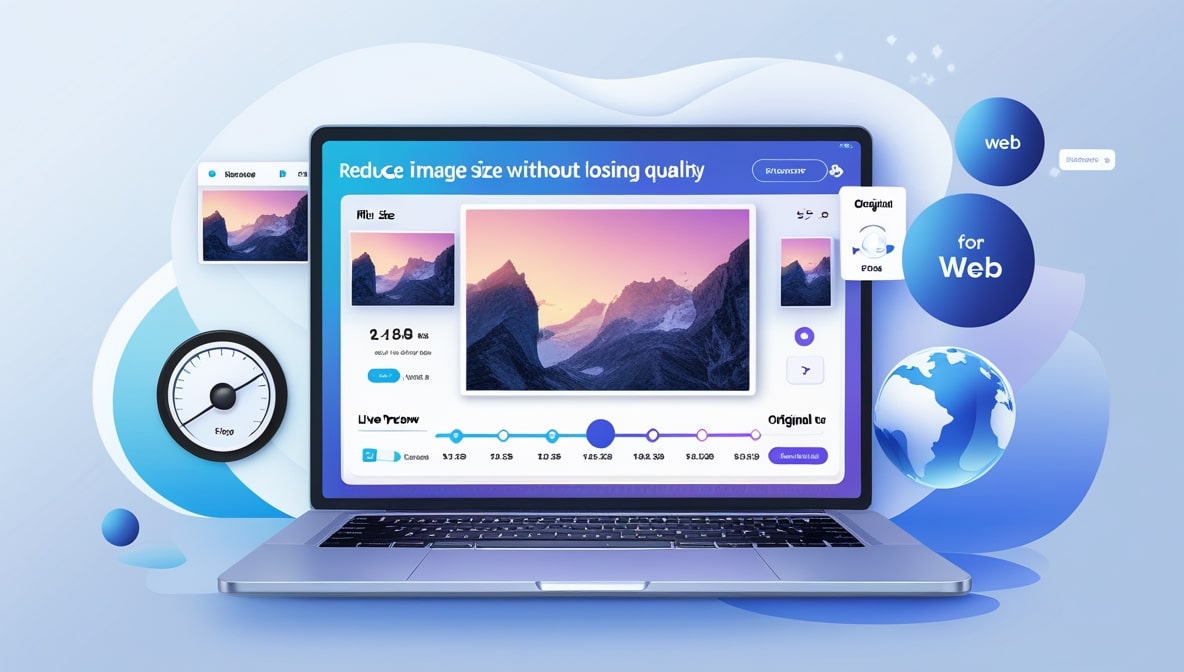
Having a preview of your images prior to compressing helps you see the outcome. Before you save your compressions, see the difference between the original and compressed. Test this on your sample images to help maintain quality while decreasing the file size.
Starting the Process with Organizing the Image Inventory to be Compressed
First, pick all the images that need to be compressed and gather them in a single folder on your computer. When all of them are in the same folder, the changes you need to make to all the images can be done in a batch. Additionally, this helps you avoid mistakes, and this helps you because you can avoid the previous screenshots and other irrelevant images to your website.
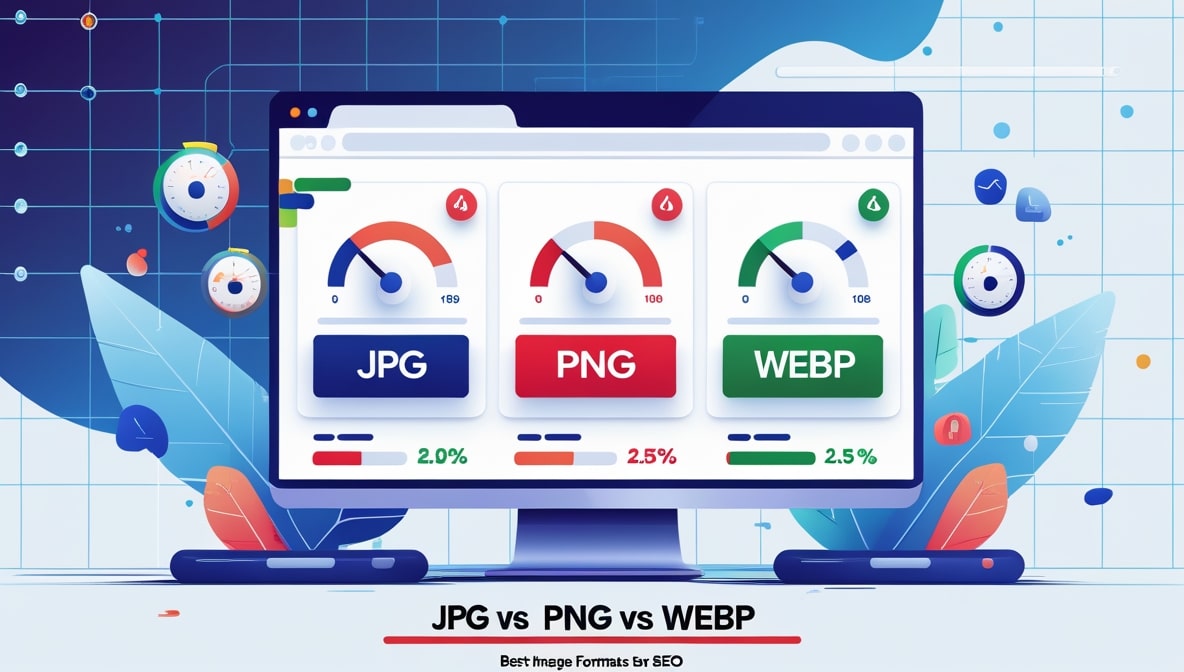
Resize images to the exact pixel dimensions instead of letting the browser scale the images. Save the images for the web in the most efficient format and use JPEG for photos. Use PNG for images that use graphics or images that need to have a transparent background or images that are graphics.
Use image editing tools to remove hidden EXIF image metadata. The EXIF metadata is also the unused and unwanted image data that adds size to the image file. Remove unused and unwanted space in an image file step cropping. Also, use this to focus the image that you care about and remove the unused and unwanted space around the image that you are focused on. Use the image editing step to create the image that is for your intended use. Save these copies in your image editing application for future use.
An entirely clean and clear image editing step ensures that a process of should basically fails and it saves a lot of time in compression and properly compresses images. These image editing steps also help compression tools process images faster which allows the compression tools to function better.
How to Compress Images
Use your of choice for image compression apps and open a new project. Import all of your files for your project into the app to ensure that all the files are kept together.
Simple instructions include:
1. Click on your tool and either choose your preferred pictures or upload them.
2. Choose your compression based on the style and layout of the photos.
3. Adjust the quality as you want the size and style to be.
4. You will be able to see all photos and compare them.
5. Process them all at once.
6. Receive all the updated smaller pictures to download.
7. Take the pictures down as you test and replace them with updated versions.
Once you improve your indicators and check them through the app on mobile and desktop, you will be able to tell how optimal your changes are. Remember all size changes and modifications through indicators you trace.
Compression Tips with More Features
AVIF and numerous tools provide better quality and smaller photos. Upload photos that are of high quality and keep the background low quality.
Use compression to your advantage and pair it with used lazy loading to deliver pictures when the user is near them. Adjust your settings to auto compress newly uploaded photos. check your indicator settings and adjustments.
These strategies expand your skills and extend bandwidth relief site-wide. Keep an eye on server logs and identify pages that need continued optimization. The additional control optimizes your efficiency as site content grows over the coming months and years.
The last step is to export the image files appropriately for your hosting and website. When doing so, adhere to the same file naming convention your site uses.
Once you have uploaded them to the website, you should make sure to test them in several different browsers and devices to make sure the new images are rendered properly. When your new images are live on your website, check your hosting dashboard to see the difference. To give the hosted site extra efficiencies, use the new images for your media campaigns and social posts.
Create an archive with compressed and uncompressed images. Keep the original. Use it for other purposes down the road.
Learn from the collected metrics that come from the speed tools.
Your hosting and site speed are protected, and you get to enjoy your new image management tools. These tools will help you grow and have a professional site. The lessons you learn with these tools have even greater impacts for you in the long run.