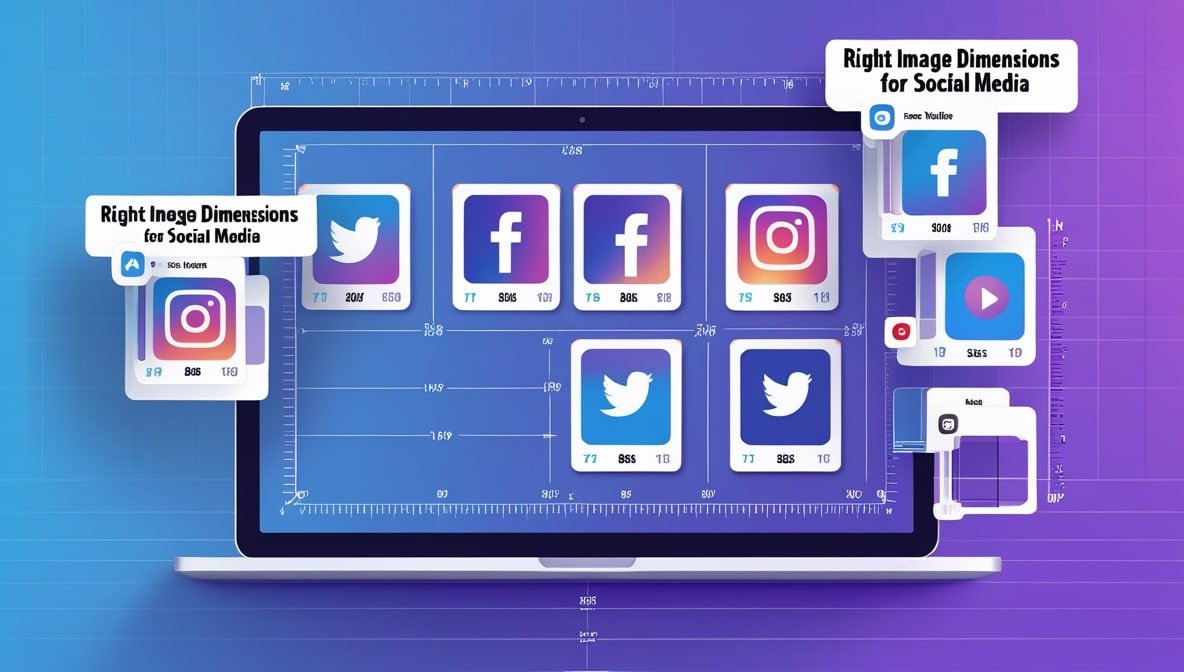
The Best Image Formats for SEO — JPG vs PNG vs WebP Explained
The Importance of Image Formats for SEO
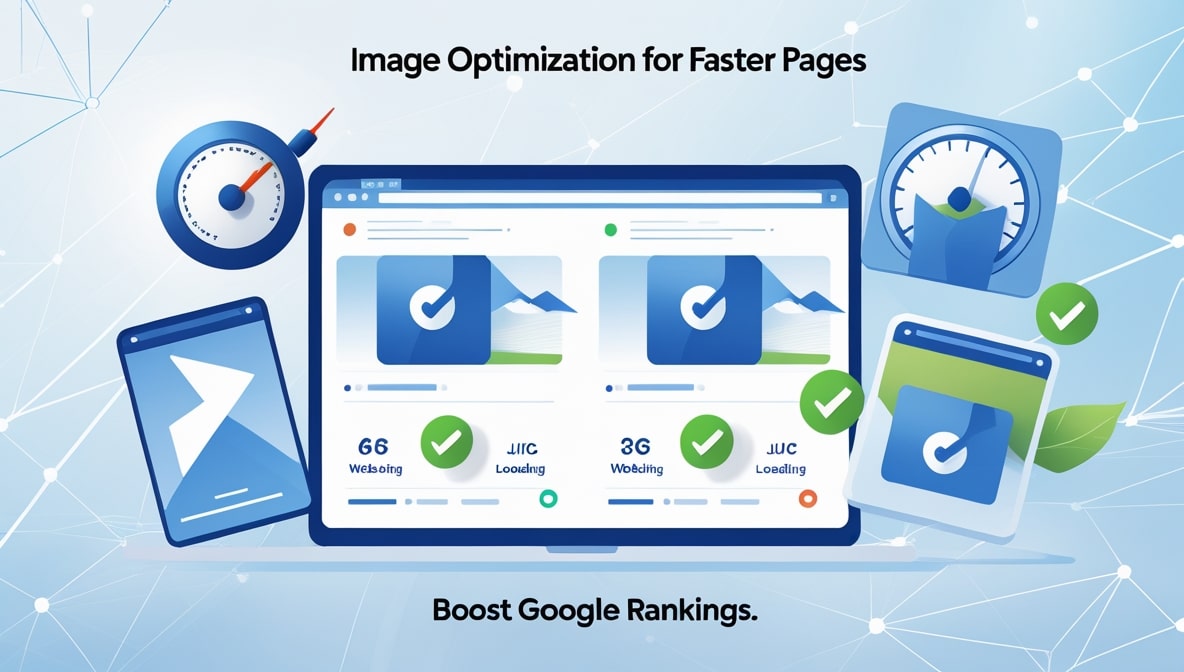
The image formats you use impact how fast your website loads for your visitors. On top of that, search engines rank your web pages with load speeds in mind. Also, large image files lead to slow loading times, causing many visitors to leave your site. The proper image format leads to a smaller file size and a smaller impact on loading time, while maintaining image quality. This reduction improves your rankings on search engines in the long run.
Websites utilize a lot of different kinds of images to both capture the interest of users, and to explain ideas or products. Each additional image, even if it’s less than a kilobyte, adds loading time to the page. This slow loading time discourages visitors. Google’s Core Web Vitals structure indicates page load times, real visitor experiences, and it has a direct impact on where your site will rank in search engines.
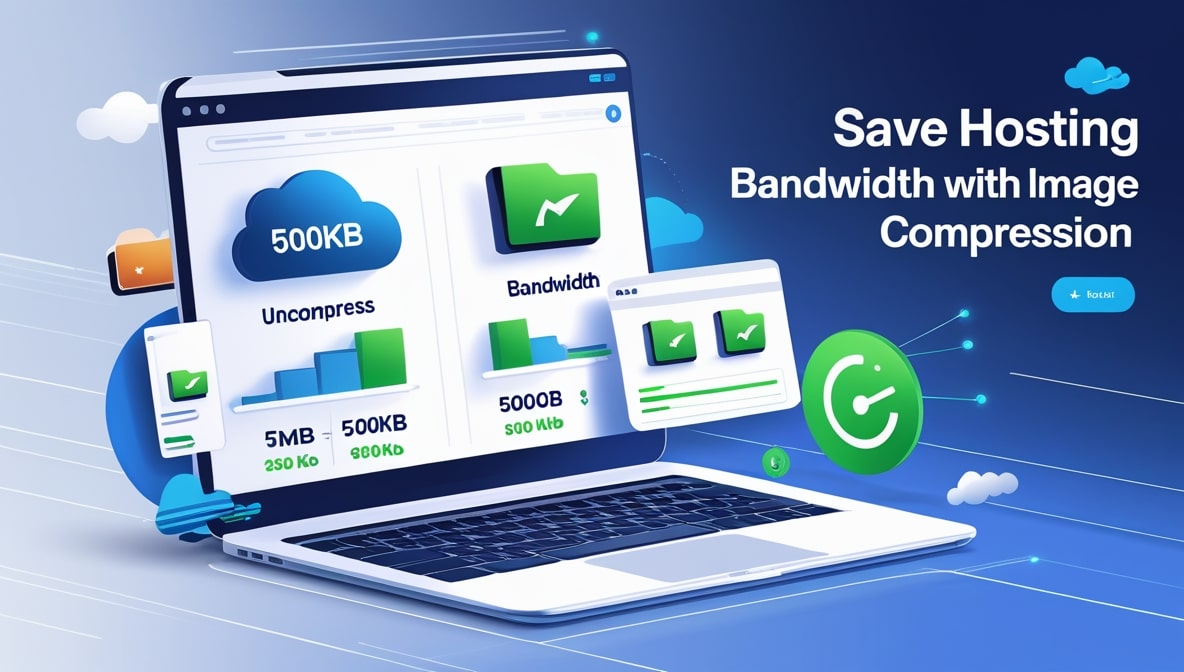
These different image formats make your pages load faster, which leads to less strain on your server and saves you money on your server’s bandwidth usage. Images help at improving page load times so that search engines can crawl the contents of your pages. This is especially true with image void pages like online stores and travel blogs.
Your visitors will be satisfied, and your effort will be rewarded with improved rankings for web pages and improved web page visibility.
The Erosion of JPG’s Dominance
In the past JPG images were the most popular image format. This is because images taken with a camera in JPG format are naturally smaller in size. JPG image formats are compressed using a system that leads to a smaller file size, while maintaining quality that is acceptable for most online uses.
This makes JPG suitable for realistic images with many colors and gradients, like nature and product images. JPG files are smaller and load faster on websites. JPG is default for images captured by many digital cameras and smartphones which keeps the workflow simple. JPG maintains good color depth and works well on all devices and browsers.
JPG has some downsides like not being able to provide support for transparency and backgrounds. JPG is not ideal for image overlays and logos to reduce background colors. JPG allows the user to choose the quality level of the image. JPG is best used for larger web design elements as JPG will help maintain the websites professional level. JPG will provide the best photography options and is a trusted photography option. JPG is the best option for website photography.
Strengths and Weaknesses of PNG Format
PNG is ideal for high quality photography and support transparency. PNG format is lossless which makes PNG ideal for photography and PNG maintains quality. PNG is the best logos, buttons, and the best graphics. The flexible design options are useful to managers. PNG can be used more effectively and efficiently than others.
PNG's thicker format, especially with simpler illustrations, means PNG is ideal for graphics and photography projects and design. PNG also has the bad and negative side of the PNG format being thicker means PNG is not ideal for graphics with images than those JPG images.
Using PNG too frequently can add excess size to your file which may slow down your page load times.
PNG is still necessary for some elements for designs that portray PNG for the interactivity of the graphics. The PNG file format for the interface graphics and other file formats for the photos found on the professional website. Other reasons are smooth and natural transparency effects due to full alpha channel support.
PNG, when used properly simplifies the overall appearance of web pages while PNG is used best for areas of the website where limited background and edges are important the overall size of the file is acceptable.
Why is WebP Becoming the Preferred Extension for SEO
WebP was developed by Google is the latest Generation Web Image format that can replace all the old compressed image formats. It is able to replace all of them while supporting both lossy and lossless as well as transparency and animation. WebP however excels as the image format of choice especially for typical web images.
WebP files can be created up to 25-35% smaller than their JPG and PNG equivalents, which will have the same images as JPG files. The smaller file sizes help web pages load faster, which directly influences user experience and SEO. WebP is able to help pages dramatically improve their load speeds after the file format change.
Older images can still be used as substitutes for certain WebP images to support old web browsers, especially after the support of modern web browsers. WebP is appropriate to use for images that contain many graphic designs as well as photographs.
WebP helps websites become more competitive as the WebP format is developed specifically for helping websites become more competitive to other sites especially after the increase in the focus of other search engine sites on the importance of site speed.
This layout is more favorable to lower the bounce rate and improve the Core Web Vitals.
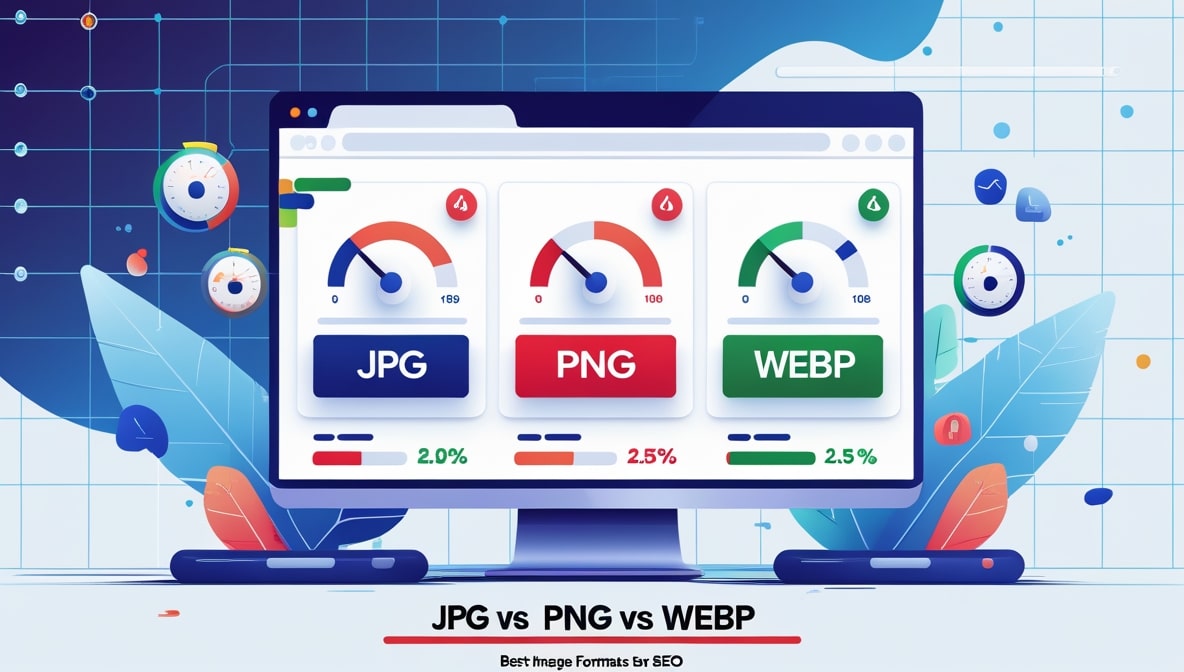
Comparison of JPG, PNG, and WebP
Differentiating these formats assists in selecting the appropriate one for various situations. Each particular format has advantages based on the image or the objective of the website.
A few, but not all, of these distinctions are described as follows:
- JPG formats are excellent for photographic images, but do not support transparency.
- PNG formats provide support for transparency and quality, but sacrifice on size.
- WebP formats provide excellent compression with lossy and lossless features
- JPG is best with photographic images with many colors.
- PNG is the best choice for images with lettering and sharp edges.
- WebP formats support transparency, animation, and smaller file sizes.
- All formats have good browser support, but WebP formats will need to be substituted in certain cases.
- WebP format generally provides the best SEO quality to performance ratio.
This Graph outlines that there is no overall winner in these categories, and what format to choose should consider the audience, type of content, and the desired speed of the pages.
For best performance, experiment with multiple formats on your images.
Tips for Image Format Choice and Implementation
Evaluate the intention behind each image on your website. JPG formats are for photographic images, PNG formats for logos and WebP formats for the best overall performance.
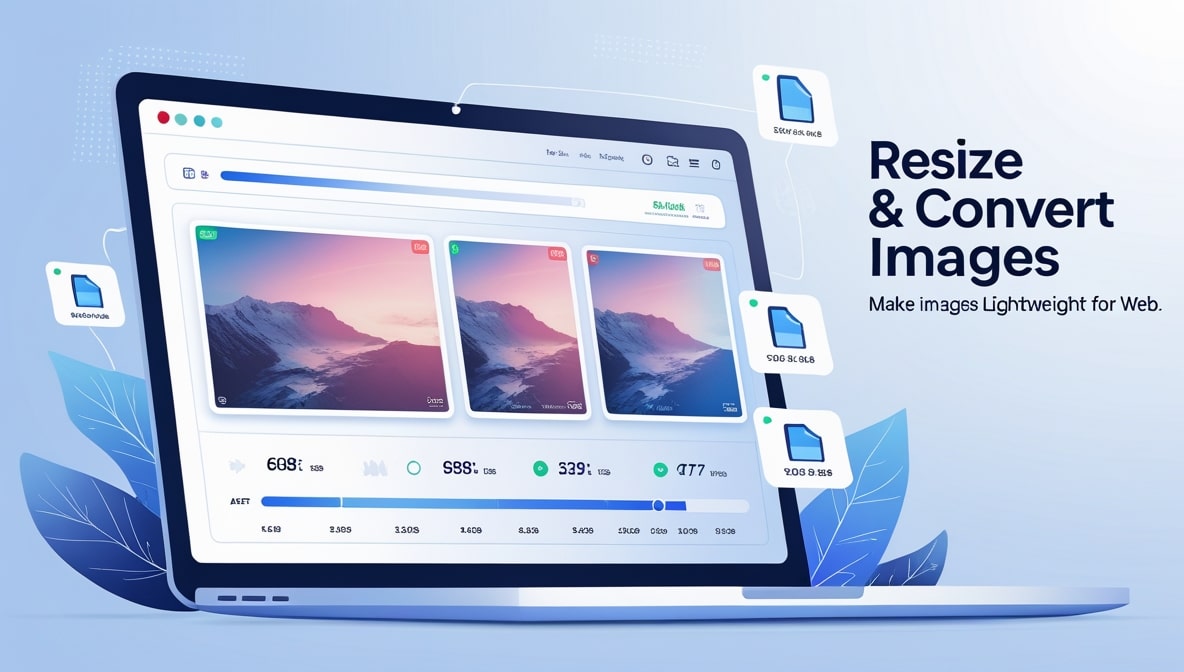
For best results, images should be optimized for size and speed. Before and after measurement should be taken before and after each format test.
Implement a step-by-step approach to transitioning your image library to avoid unexpected consequences. Store the initial versions of the images to reversion if needed.
Consider using automation plugins to convert images and serve them in the proper format according to the visitor's browser. Utilize lazy loading and proper sizing to optimize speed. Write descriptive file names and alt text to augment your SEO image strategy.
Periodically (every few months) assess image formats in your library as technology and browser support improve. These minor, incremental enhancements can raise search rankings and improve visitor satisfaction.