How to Resize and Convert Large Images into Lightweight
Resizing and Converting Large Images
Large images can be detrimental to websites or any sort of digital work. They lengthen loading times and increase bounce rates, leading to lost visitors. Images can be converted into more efficient file types and can be resized to render smaller picture dimensions. When these two techniques are performed, large images can be converted to lightweight images while maintaining the visual quality of the original image.
Being able to ensure your webpages will have a good user experience is a great benefit. Search engines "reward" fast loading times and efficient sized images with better rankings. Many hosting services charge clients on a monthly basis for the amount of bandwidth that is used. Lightweight images are a way to save money throughout the month. Mobile visitors, in particular, will appreciate the lower usage of their data plans.
Websites that are e-commerce focused with large product catalogs or blogs with a slew of images will benefit the most from the aforementioned techniques. Using efficient sized images also helps to maintain a lower storage usage across all of your devices. These methods can be applied across a wide variety of devices and can benefit both beginners and advanced users.
Greater control of your images can be achieved with the flexibility of the ability to resize and convert images. Being able to maintain high quality images while also removing extraneous data is helpful in all your digital work. Streamlining your work will allow you to be more efficient and create more efficient and professional outcomes.
How to Select Appropriately for Image Resizing and Conversion
Today's digital landscape makes image resizing and conversion easy, even for people unfamiliar with photography or graphics applications. ILoveIMG, TinyPNG, and similar online services provide browser-based image modification without any software to download. Paint.NET and GIMP are image editing applications geared toward desktop and laptop users. Mobile users can download Photo Resizer or Image Size for image editing on the go.
Free software meets basic image editing and conversion needs, while paid software meets more complex needs with features like improved batch editing and conversion options. Identify image editors with tools to work with the formats you use, whether JPEG, WebP, or PNG. Use image editors with transparent interfaces that display the sizes of the original and the modified files.
Quality image editors allow users to set custom heights/widths and options to maintain aspect ratio, which guards against distortion and loss of quality. Prior to image resizing and conversion, use the various applications with the complex images you use in your daily work.
A good selection makes the workflow simpler and presents fewer challenges. As a consequence of this, image-related activities become more productive because a lot of the time that would ordinarily be dedicated to image-related activities can now be used for other productive tasks.
Steps to Resize and Convert Images
Place your large images in a single dedicated folder. This will help keep your workspace neat and will speed up the session to a large extent. Make sure your images have decent quality in focus so you don’t run into issues with resizing. Fixing large quality issues with resizing will be impossible.
Keep the original files somewhere safe in a backup folder. If you have high resolution originals you might need them to print at a later date or to work on other projects. Write down the original sizes and dimensions so you can see the improvements later on.
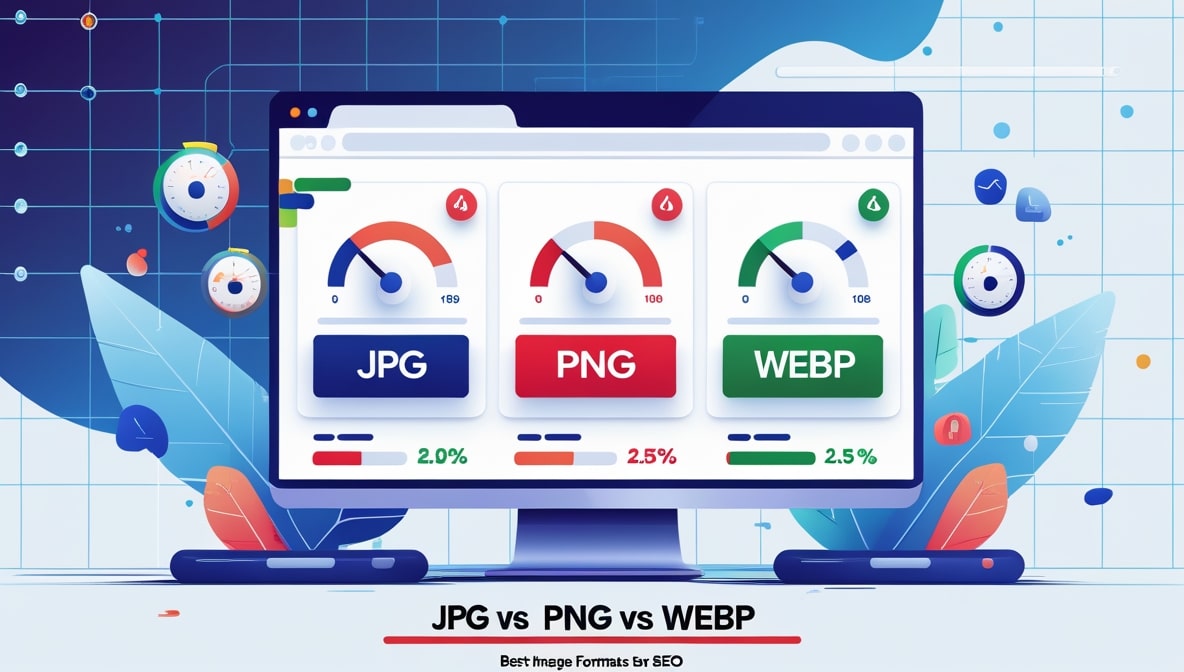
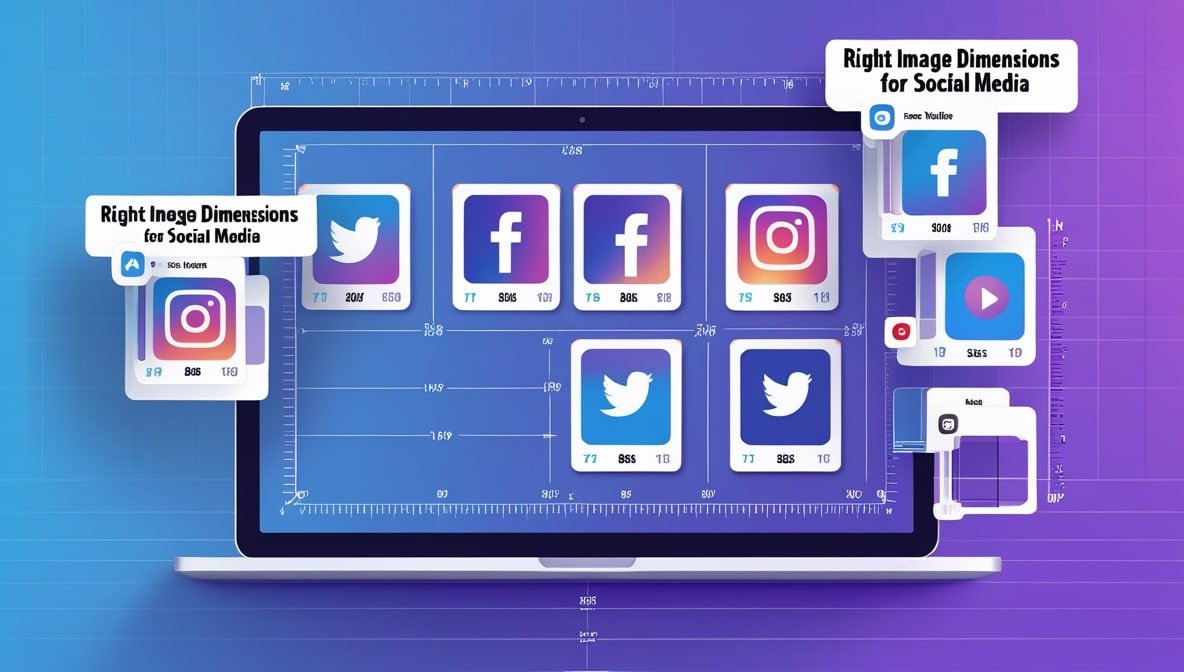
The dimensions you will need will usually be dependent on the placement of the images. For example, images for a website will usually be smaller than ones for social media. The final format should also be picked at this time because not all formats will compress to a smaller size and have the same quality.
Eliminate distractions by cropping images. Tilted images should be straightened to provide a point to build off of when working on the images in the future. These steps will show the resizing tools what they should be focusing on and will work more efficiently as a result.
Images that have been prepared for resizing and conversion will produce quicker results and the final quality will be of a nice standard.
Step by Step Process to Resize and Convert Large Images
Use this basic framework to condense and change your desired images into a lighter format.
The basic steps are:
- Take the tool of your choice and add your large images
- Select the resize option and enter the desired width and height
- Ensure the aspect ratio remains constant.
- Select your required format for the desired compression
- Select your required quality to optimize your desired new size with correctness
- Click the preview for your desired new size
- Select the run option for the conversion and resizing of the large images.
- Select the desired new size for download and check for each image.
This preference of order eliminates the risk of surprises. Ensure every choice is a copy and not the original. Never take for granted the importance of seeing each detail.
The tool can save your choices for a single batch.
The order can be adjusted for a single image.
Frequent repetition ensures a fluid and coherent application of the each step.
Further Techniques to Create Even Lighter Images
Once images are resized, further methods can be implemented to reduce image files, with little to no effect on quality. For example, applying smart compression after resizing can remove only the color data that the image no longer uses. If a compression tool supports it, the conversion to WebP may yield smaller image files than the other tools.
Managing a large number of images can use up a lot of time. For quick and easy editing to image files, batch processing has the ability to apply compression with the same support parameters across all images. Also, the image graphics that do not need the full color range can have color depth slightly reduced to create a color range that is a little smaller than the original.
In a side resizing and color depth reduction method, smart selective compression can be used to remove the compression artifacts and reduce files. For the more background images, a greater degree of resizing and compression can be employed. If no intervention is made by the user, the tools can run the optimization and suggest the best parameters that can be used.
All these techniques can contribute to significant reductions in website bandwidth. The more techniques that are employed, the more the images conform to the design, and use less memory while creating a high-quality design.
Many photo types may help to refine results.
Saving, Sharing, and Using Images Efficiently
Make sure to save your work, resizing and converting your files to the right size and the right file type. Have a recognizable naming convention which includes the name of the file, the date of creation, and the file size. Store the lightweight versions of your files in your website folders or upload them to your content management system (CMS).
Place the images on a live page to ensure they load clearly on both desktop and mobile. Check that the loading time of your page is improved with the use of an online loading time website. You may use the optimized images as email attachments or on social media without worrying about the size of your attachments because they are now lightweight.
Be sure to keep the original versions of the images somewhere safe, as you may need to use the high-resolution versions in the future.
This process will ultimately save you and your audience time, as you will have faster and cheaper website management, as well as images accessible at any time. Images are important when trying to reach your audiences faster and with the best possible result.
You will be seeing a performance benefit with lightweight images on your sites and the content management system. To maximize the efficiency of your content use you should be employing lightweight images in your. In turn you will be seeing the performance benefit that your sites need to maximize the efficiency of your content.