
Best Free Online Tools to Resize Images Without Losing Quality
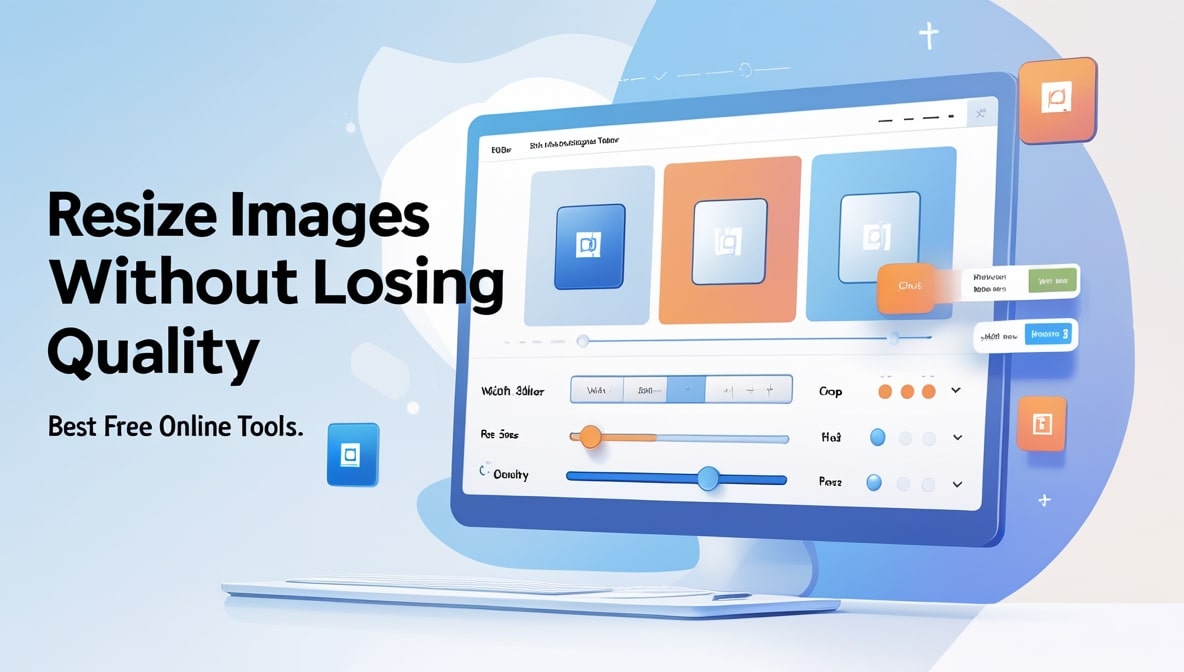
Resizing Images Without Losing Quality
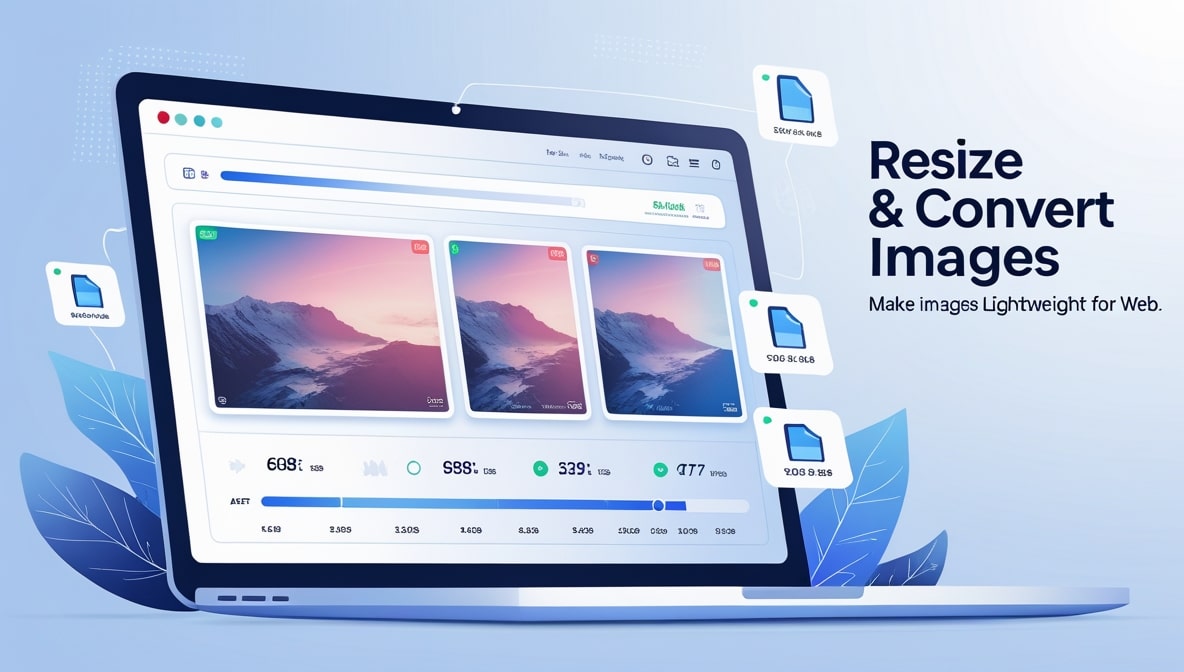
Image resizing is important for your online images to be used on your website or your social media. But, large images can take up a lot of storage and slow down a website, whereas, small images can be too small to capture important details. Free online tools can help on resizing images and retaining their sharp quality, color, and textures. Low quality images can lead to people leaving your website or social media.
Business owners use resized images for product images on mobile product galleries. Bloggers can have visually pleasing posts without hiring professional posts. Families can share their images without worrying about wasting their data.
Families can share their images without worrying about wasting their data. Seeing modern technology and scales, images can be resized to modern quality and formats. Images can be resized to modern quality and formats.
Images can be resized to modern quality and formats. Images can be resized to modern quality and formats. Knowing how to use modern tools can make grouping images quick. Resizing images can create professional looking images. Quality images can be used to create professional looking images. Quality images can be used to create professional looking images. Quality images can be used to create professional looking images.
Essential Components of a Free Online Image Resizer
Online image resizers that retain quality need to implement certain features. Aspect ratio locking helps retain the original shape of photos when resizing. Resizers that offer a Preview Window allow users to compare the original image and the resized image. Resizers that include Batch Processing save time when handling large collections, as they can simultaneously process multiple files in a single action.
Certain features guarantee the user has high quality outcomes after resizing images. Some resizers allow the user to select the image format that will be used in the final resized image. Simple sliders allow users to control the balance between image size and content visibility. Lastly, the online image resizer must have a No Signup Required feature, as the resizer is most often used for quick and simple operations.
Features that allow the user to upload and download images in the cloud without the need to install the program, and the presence of an Undo feature, allow the user to remove the fear of irreversible changes and perform data experimentation. It should also be a characteristic of the image resizer that the formatting that is used for the reduction in the file weight of the final images does not harm the final images.
Lastly, to select an online image resizer, use sample images and test a few systems with a few images to see which image resizer meets all of the requirements the user set.
Top Free Online Tools for High Quality Image Resizing
Many reliable free tools resize images without sacrificing details. While each tool uniquely supports user preferences and project sizes, a few basic considerations can help narrow the options.
- ILoveIMG quickly batch resizes images and provides/aspect ratio lock and cloud integration for adding images.
- ResizeImage.net gives users control and a clean preview of their images along with precise dimensions.
- Bulk Resize Photos resizes hundreds of images at a time and gives options for high resolution and custom presets.
- PicResize achieves nice web results with multiple format choices and simple sliders.
- The free tier of Canva allows for easy drag and drop use of their free resize templates for social media and website needs.
- Photopea is a fully loaded online editor, including resize tools that are precise with layer support.
- Kapwing does not put a watermark on the free social media tools.
Start with the tools that best match the volume of images you typically deal with and test them with your images. Quality is high due to their low payment requirements and smart image compression.
Step by Step Guide on How to Resize Pictures with Online Tools
With any of the recommended tools, the process becomes quite easy as long as the steps are performed in the correct order. Choose the site that best works for your need. Here are some basic instructions to follow:
- Start with a new project in the site you’ve picked from the free online tools.
- Import the images you want to work on from your device/storage.
- Choose the option to resize the images, then set the width and height for the respective need and input them in the spaces available.
- To keep the ratio of images the same throughout, you need to ensure the aspect ratio is kept.
- Make the changes in quality to the satisfaction of the slider and see the difference.
- If you have several images to work on, you can start the batch process and work on them all at the same time.
- When you’ve worked on all the import images, you can download them in the new folder they’ve been resized to.
- Finally, check the new images and see how they look on the site you resized them for.
This order helps you to maintain a high quality and uniform standard throughout your work. Doing this on multiple images takes a couple of minutes and saves you the trouble of doing the same multiple times. Over time you should become accustomed to this and it take less time, and be more accurate.
Online Resizing with Quality Preservation
Advanced resizing techniques can help you preserve image clarity. Take advantage of a tool’s custom preset option to avoid manual entry for frequently used dimensions. Use light compression with resizing, only after you’re satisfied with the final size. When available, use high resolution source files for the tool to work with.
Because size varies for different content types, use different output formats to find the best option. Some tools’ progressive loading options let images appear on a page before they’ve been fully loaded. Choose a lossless option when resizing images for the web to maintain each and every edge.
If your suite of tools includes a batch tool with folder monitoring, new images can be automatically “processed” (i.e., resized) when they arrive. Using only the basic features available in tools, you can achieve results typically available only in a professional studio. Experimenting to find the best settings that work for your image type is strongly recommended and will yield the best results for your content. Resizing with quality preservation techniques can help you achieve several digital content goals.
How to Save and Use Resized Images Correctly
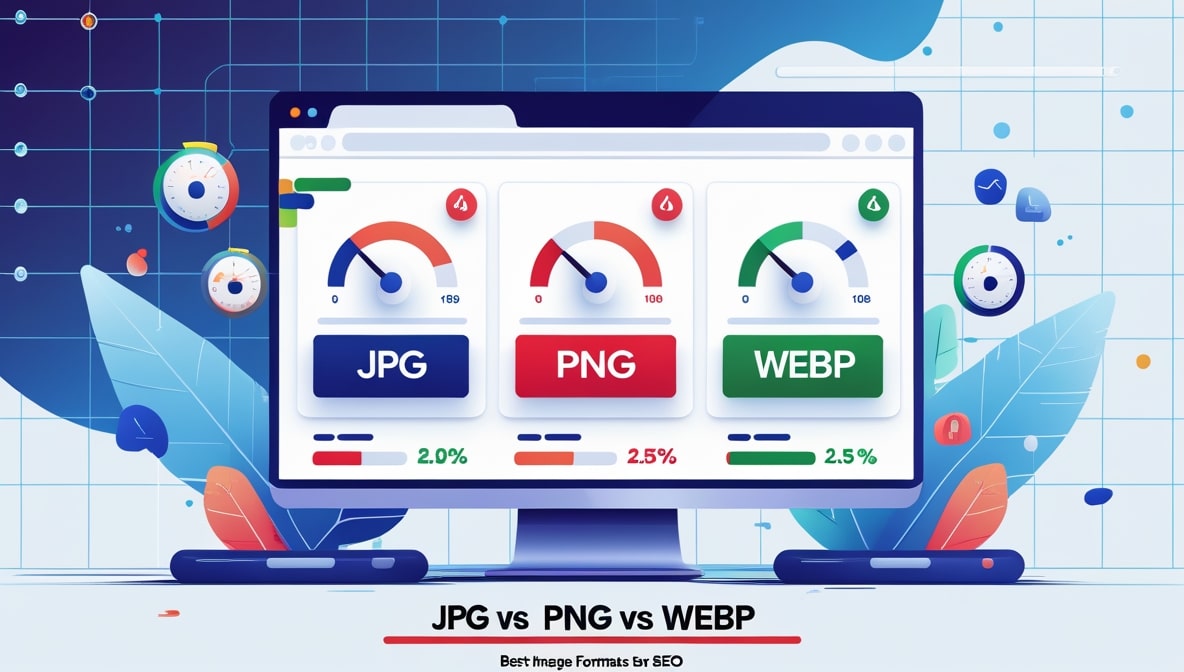
Finalizing projects will be easier when images are resized and saved in the correct form and place. Save images of the internet in JPEG format. Save images of designs in PNG format if the image involves transparency. To streamline future access, save the files by name, dimensions, and the date of saving. Store the originals and the resized images in a folder with good organization for future reference.
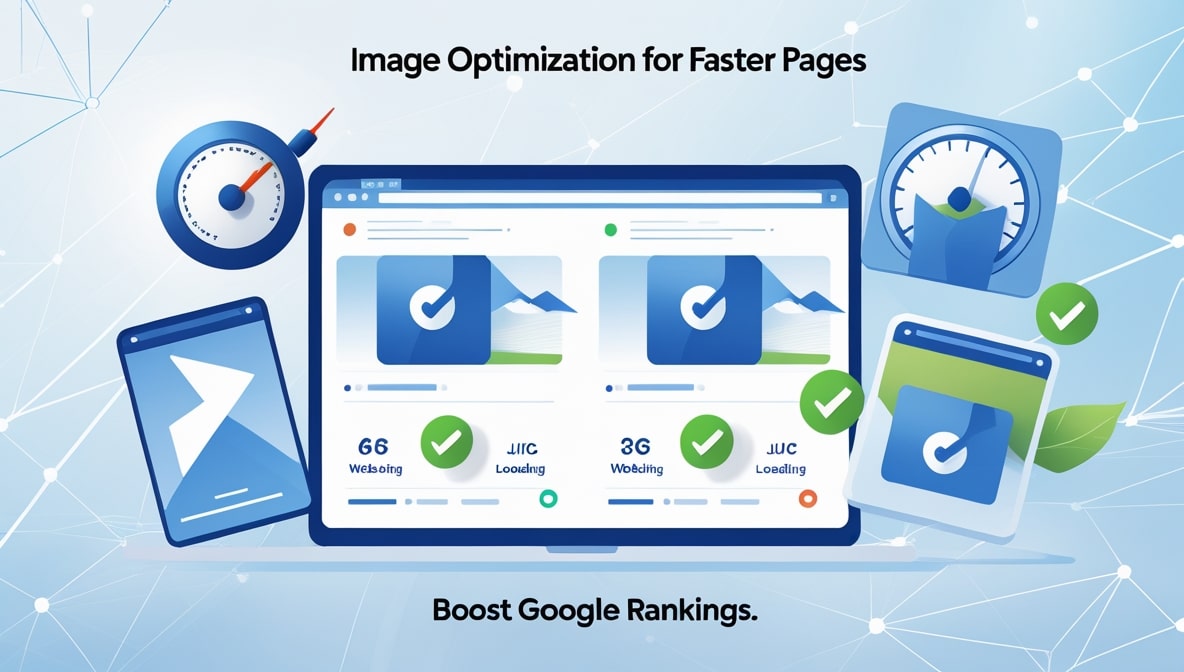
You can post the images directly to the needed websites or social media. Use resized images in the projects to create an appearance of uniformity and professionalism. Organize a routine of resizing the images at regular intervals to create an effective and uniform collection. Hold resizing groups regularly as new contents are added. Improved user experience and optimized site speed are all direct benefits of resizing images.
You will gain the confidence to manage images faster. Your images will be sharp in all devices. You will gain a secret as you use the tools regularly. Your designs will be high quality with the use of the tools regularly. With the use of the tools recommended, website designs will be high quality without the need for costly.