


How to Brighten, Sharpen, and Enhance Images for Professional Results

Images captured on phones or cameras can often be modified graphically to make them look professionally polished. Brightening images allows the user to see regions that were darkly lit. Images can be sharpened using functions that allow the user to see an image more clearly without the graininess that occurs from stretched image functions. Enhancement includes the functions that cover the areas of color correction, providing clarity, and balance of contrast and brightness to the overall image that provide more professional, clean and polished results.
These adjustments often provide the audience the ability to see images that possess limited, poor, or inconsistent lighting, including images that are somewhat blurry as an output of slight movement. Enhanced images provide more audience engagement and interest as images appear more complete and brighter, which also allows images to be utilized and suitable for a more professional context such as on websites or social media, printed material or simply in a presentation.
Photo editing businesses will promote the more enhanced and brighter presentations of their services and their products, as parents will preserve their cherished memories in a more polished and professionally clear high quality image. There is no limitation of the usefulness of the skills learned and enhanced professionally clear images of any skill level are achievable.
You can easily make graphical modifications and see them in real-world time as technological advancements have guided the development of all photo editing software. The skills learned from photo editing can also be used in different images to enhance and add the final touches to your images. Enhanced images also provide an internet usage that is more efficient and image preserved in its format.
Selecting the Best Tools and Software
There are many options for brightness and enhancement for your images. There are phot editing software programs such as GIMP that provide a platform for complete creative modification. There are many options that also enhance and modify images with the mere touch of a slider.
Paid software, such as Adobe Lightroom, can organize large collections of photos and make bulk adjustments to multiple files. For less frequent users, convenient as-needed online tools simplify editing and uploading by requiring no installation. Each tool has its own unique benefits, ultimately dependent on budget and personal preference.
Determine tool preferences and comfort by experimenting with several. Look for tools with layers to help you easily undo changes and evaluate progress with a before and after feature to track changes.
For quick adjustments, mobile tools are the way to go, while for complex fixes, readily available tools for desktop can be used. The tools you choose should aid in simplifying the process of accomplishing complex tasks. From the first step of the process to the final step, it should be effortless.
Preparing Your Images for Enhancement
You should first be selecting your images, which should be of high-quality and of a large enough resolution. Spend time reviewing each potential edit for a successful before and after. Create a frequently used collection somewhere for easily retrieving these images.
Back up originals in a safe location so you can return to them. Spend time recording the light and ambient of the images in order to manipulate these later in the adjust and edit. Focus your shots by cropping in on the focal area to remove distractions.
Only resize your edit after making a decision regarding the final destination and use. Create a balanced field of view for your editing and straighten. small specks of dust and scratches can be easily fixed by d.
The preparation step is the most useful stage that helps you avoid many of the possible issues that can occur with the brightening and sharpening steps. Version tracking as edits occur is simplified with systematic file naming. Working with thoroughly prepared photos leads you to get the best quality result in the shortest time possible.
To Increase Brightness, Sharpness, and Quality of Photographs
Here is the step by step approach to handling brightening and sharpening of photographs in your chosen editing tool.
Correcting photo brightness and sharpening can smooth out rough, shadowy patches.
Basic Steps
- With your edits, the first thing you want to do is adjust the copy of the image.
- Sharpen the photo as you zoom in to check and adjust the level of the filter.
- Brighten and lighten the image by adjusting the brightness and exposure.
- Correct colors by adding or decreasing saturation and adjusting hue.
- Finalize the image by reviewing and correcting last issues at actual size.
- It is always a good idea to save your work often and at different stages since edits can be difficult to reverse.
Work on one aspect of the image at a time to avoid over making edits and issues in the photo at different scales.
Achieving a more polished look
Once you've made the necessary base edits, you can play with the different editing layers to achieve a more blended look. Use masks to adjust brightness a little more on the areas that may need it such as the face or the sky.
The first tool that you need to master is the Contrast curve tool. This tool will allow you to adjust the highlights and shadows of an image with ease. The option to include a vignette is an option for you to include. This tool can also save time and can batch those adjustments for you.
You can experiment with sharpening and selective editing. Each of the tools used will add depth to each of the edits. Each of these edits will change the image so that they cannot be detected. Each of these changes will allow readers to see the central image that is being edited and redesigned.
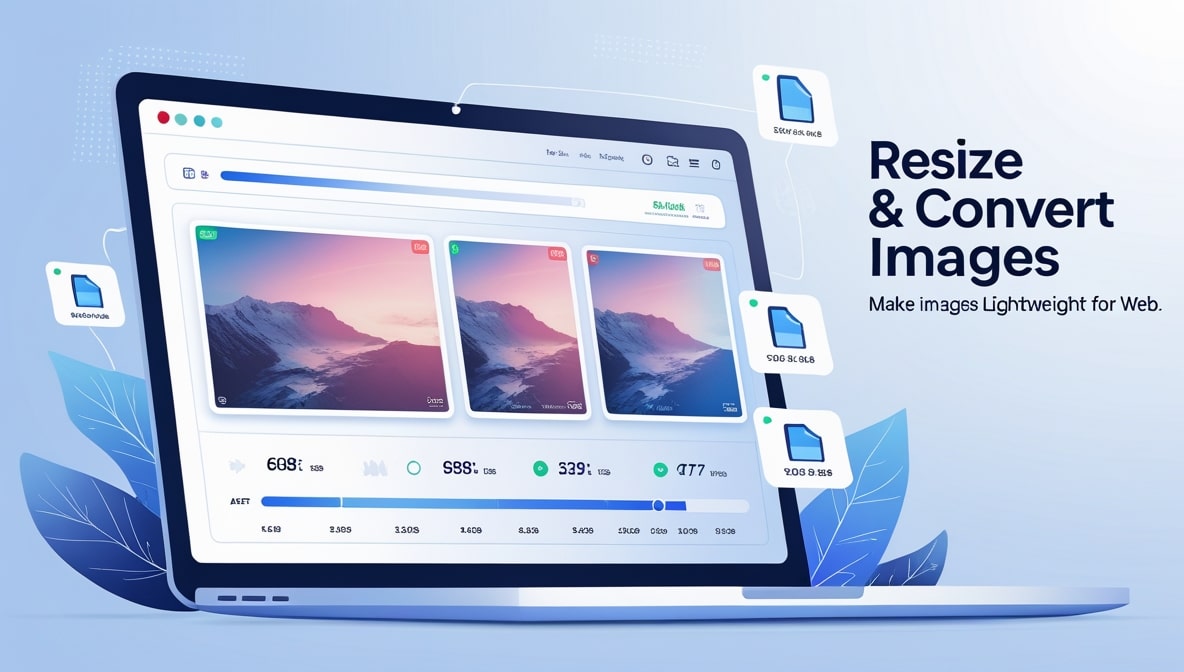
When sharing the image edit. Make sure to save in a variety of formats. Use high quality formats if you want to print large formats and display. Use low quality formats for printing display and sharing on social media. Use a variety of formats that prioritize printing.
Use the metadata that the site tracks so that your images can contain the values. Each image you edit will be marked. Saving a variety of formats prioritized editing. Each of these edits will prioritize keeping the image format original. Each image will be redesigned to make it a better quality.
Developing speed and consistency comes with practicing complete workflows*. Enhanced images ensure that your subjects are always seen in their best light and that all your photography skills are of the highest standard. *Refers to a set of tasks that are usually completed in a consecutive order to achieve a goal.