



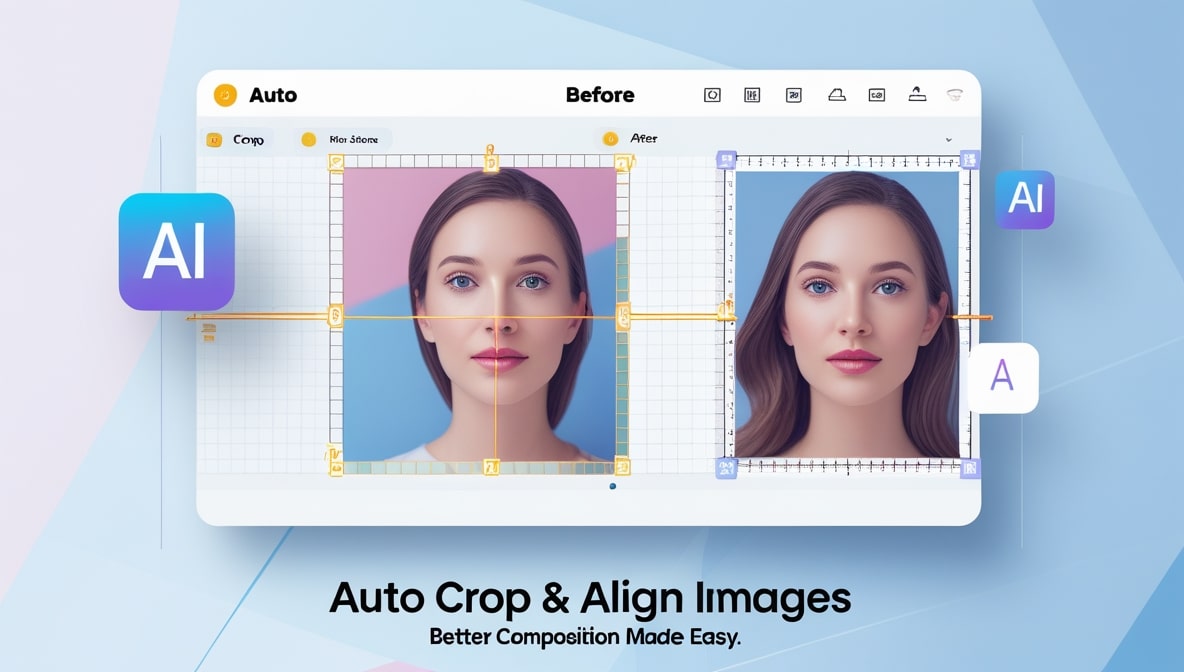
How to Automatically Crop and Align Images for Better Composition
Resources for Automatic Cropping and Composition Alignment
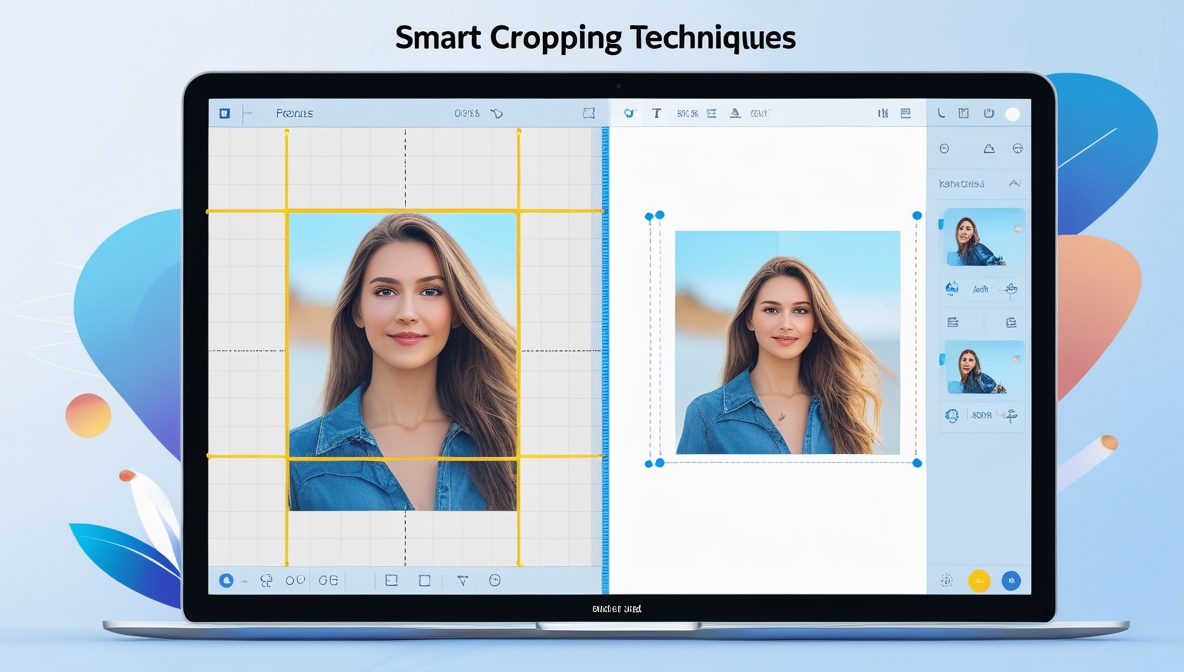
The art of Automatic Cropping and Composition Alignment is a recent function of smart technology, which aids a photographer in their ability to improve composition without a single intervention. These features analyze image content and select the main subject with relative ease. After the image is taken, crops of unclear areas are removed, and tilted elements are aligned to a balanced composition. Good composition controls eye movement to the main area of focus.
Auto-cropping and alignment observe traditional styles. Balance of space is removed and the key area is properly centered with minor intervention. Tool technology has improved. Trained models with millions of images have streamlined the precision of professional results even to a novice.
Edited pictures are of a higher caliber when IT and design technology are combined. They increase focus on product placement and improve the image of a captured portrait. The use of Auto-cropping and Alignment saves users from the burden of time when working with a large number of images.
Sophisticated technology has improved the art of composition. In an ordinary image, horizon alignment is a recurrent issue. Most editing apps have a function which eliminates the angle of horizon. The use of these tools is ideal for the enhancement of an image.
Selecting the Best Software for Automatic Cropping and Alignment
Numerous software and applications offer powerful options for automatic cropping and alignment of images. Canva's smart crop feature easily identifies and crops images to center the main subject and faces. Adobe Lightroom uses AI Add-in to analyze the content and recommend the optimal crop. There are also other browser-based editors like Photopea that provide realignment guides and auto straighten features for free.
Snapseed and Lightroom Mobile are examples of dedicated mobile applications for automatic enhancement of images. There are also platforms that significantly expedite cropping and alignment of images by enabling batch sorting. Options should be selected based on the expected quantity and volume of the images you anticipate processing.
You should choose software that offers a feature that allows you to view a side-by-side comparison of the original image with the software's proposed crop. They should provide easy acceptance of their recommendations and provide simple options to adjust their recommendations as well. Free versions usually include the basic features and functions and the payable Pro versions include advanced features that utilize AI.
The best products are those that provide you with the most convenience and accuracy for your images.
How to Optimize Images for Automatic Cropping
Auto cropping and alignment may be improved with planning. Choose images with a clear main subject and optimal lighting. Place your images into a folder for organization and to help your efficiency.
Make backups for each original image at the start to cover your bases and preserve your initial files if you decide to change the settings later. Go through your collection and remove images with major issues that can confuse the automatic tools.
Cleanup and remove any highly distracting features. Use the cleanup tool and remove any minor distractions left behind. Go through the images you want to use and decide on the final use. This will help determine the appropriate aspect ratio.
The resolution of the image starting point helps the tools make better decisions. Save yourselves the manual corrections by having organized and neat files. Prepping files helps your images to look more natural for the automatic features.
Step by Step Process to Automatically Crop and Align Images
Automatic features tend to work better if Steps are done in a certain order. Start with your tool open and loaded.
Some basic steps include:
- upload your image files to your tool of choice.
- an option should be present for 'automatic crop/smart crop' under your tool menu
- Let your tool do the work in the best area of your image to crop
- small adjustments can be added to the suggested crop as needed
- the 'auto-align' feature should be on for both horizon and angle correction
- Apply the changes of both cropping and alignment
- Once your composition is complete, push it to full-screen
- Accept the changes and save this as a new version with a descriptive name.
You will achieve photo consistency quicker by following this process. It allows for quick analysis and correction on an image. Once these steps have been practiced, you can automate consistency. Work on files to keep originals safe. The automatic analysis should only take a few seconds for each image. After an initial photo batch, you can quickly adjust the other photos to match it. With enough practice, you can better intuitively understand when to make fine adjustments, and when not to.
Progressive Strategies for Automatic Composition Adjustment
You can explore more advanced features once you have a basic understanding of automatic cropping. Many software have customizable cropping options that fit preset aspect ratios to meet platform specifications. Combine automatic cropping and manual rule of thirds guides for hybrid control.
Some AI features that can expand and/or fill background voids that remain after cropping in a more balanced manner. Uniform alignment applies the Same angle correction to all the images in a folder with similar landscape photos. You can also play around with the automatic settings to fit different photography styles.
For more control train a custom model by allowing/refusing specific suggestions to affect your future results in that image library. This is the point where automatic cropping tools can assist users with layouts. Often they will solve complex issues that have a number of objectives.
You can play around with different options to have different spells and varieties offered in your adjusted automatic technology. This combined with minimal control allows for fantastic results.
Archiving and Utilizing Your Automatically Edited Images
Finally, archive your revised images in the correct file format and resolution. For the printing, use the higher resolution, and for the Internet or social media, use the lower resolution. Many of the software tools allow direct cloud storage integration for easy access across multiple devices.
Once the images are completed and distributed, the Ultimate Image toolkit allows for instant feedback on the reaction to the images. Keeping the original files is essential for strategy development, and without a track record of the edited versions, composition improvements can't be accurately gauged. Self-explanatory naming schemes help users to identify the key edits that were automatically applied.
Authentic images should be preserved as-is to be repurposed on the web, social media, and promotional material. Improved composition and cropping provides users with an easily edited toolkit that continues to turn everyday photography into an enhanced art form. Images become more charismatic and eloquent while maintaining professionalism. Always archive original files to the side of the edited images for easy reference.
With the complete workflow preserved, your photography meets the happiness restriction with little to no effort. Engaging and eloquent photography is now preserved in a software toolkit that maintains profession photography downloading. The crops are consistently perfect, and the photography is always of a high quality.